bpfcov
This project provides 2 main components:
libBPFCov.so- an out-of-tree LLVM pass to instrument your eBPF programs for coverage.bpfcov- a CLI to collect source-based coverage from your eBPF programs.
 |  |  |
 |  |  |
 |  |  |
Overview§
This section aims to provide a high-level overiew of the steps you need to get started with bpfcov.
- Compile the LLVM pass obtaining
libBPFCov.so - Instrument your eBPF program by compiling it and by running the LLVM pass (
libBPFCov.so) on it - Build the userspace code of your eBPF application
- Execute your eBPF application in the kernel through the
bpfcov run ...command - Generate the
.profrawfile from the run through thebpfcov gen ...command- Having a
.profrawmakes this tool fully interoperable - Having a
.profrawallows you to generate a variety of coverage reports in different formats
- Having a
- Use the LLVM toolchain to create coverage reports as documented in the LLVM docs
In case you are impatient and want to jump straight into getting your hands dirty, then the examples directory contains a few dummy eBPF programs to showcase what bpfcov does.
It basically automates steps 2 and 3. Its README contains more details.
While the README of the cli directory gives you more details about the steps 4 and 5 (and also 6).
Usage§
Here I will highlight the manual steps to use it.
I suggest you to automate most of them like I did in the examples Makefile.
Anyway, assuming you have built the LLVM pass, you can then use your fresh libBPFCov.so to instrument your eBPF programs for coverage (steps 2 and 3 above).
How to do it?
First, you need to compile your eBPF program almost as usual but to LLVM IR…
clang -g -O2 \
    -target bpf -D__TARGET_ARCH_x86 -I$(YOUR_INCLUDES) \
    -fprofile-instr-generate -fcoverage-mapping \
    -emit-llvm -S \
    -c program.bpf.c \
    -o program.bpf.ll
Notice it doesn’t matter if you use the textual (*.ll) or the binary form (*.bc).
Obviously, the former is more readable.
The same logic applies to opt: by default it generates *.bc.
Using the -S flag you can obtain the output in textual form (*.ll).
Anyhow, it’s time to run the LLVM pass on the LLVM IR we obtained.
Let’s do it:
opt -load-pass-plugin $(BUILD_DIR)/lib/libBPFCov.so -passes="bpf-cov" \
    -S program.bpf.ll \
    -o program.bpf.cov.ll
We should have obtained a new LLVM IR that’s now valid and loadable from the BPF VM in the Linux kernel. Almost there, YaY!
From it, we can obtain a valid BPF ELF now:
llc -march=bpf -filetype=obj -o cov/program.bpf.o program.bpf.cov.ll
While we are at it, it is also worth running the LLVM pass again (with a flag) to obtain another BPF ELF containing all the profiling and coverage mapping info.
It will come in handy later with llvm-cov.
opt -load $(BUILD_DIR)/lib/libBPFCov.so -strip-initializers-only -bpf-cov \
    program.bpf.ll | \
    llc -march=bpf -filetype=obj -o cov/program.bpf.obj
At this point, we can compile our userspace application loading the eBPF instrumented program (cov/program.bpf.o).
Doing this when using libbpf and skeletons is very easy. Nothing different from the common steps: bpftool, cc, etc.
In the examples directory, you can find further explainations.
So assuming we got our instrumented binary ready (cov/program), we can run it via the bpfcov CLI.
sudo ./bpfcov run cov/program
# Wait for it to exit, or stop it with CTRL+C
sudo ./bpfcov gen --unpin cov/program
Again, in case you wanna know more about these 2 steps, refer this time to the CLI README.
Now we have a magic cov/program.profraw file…
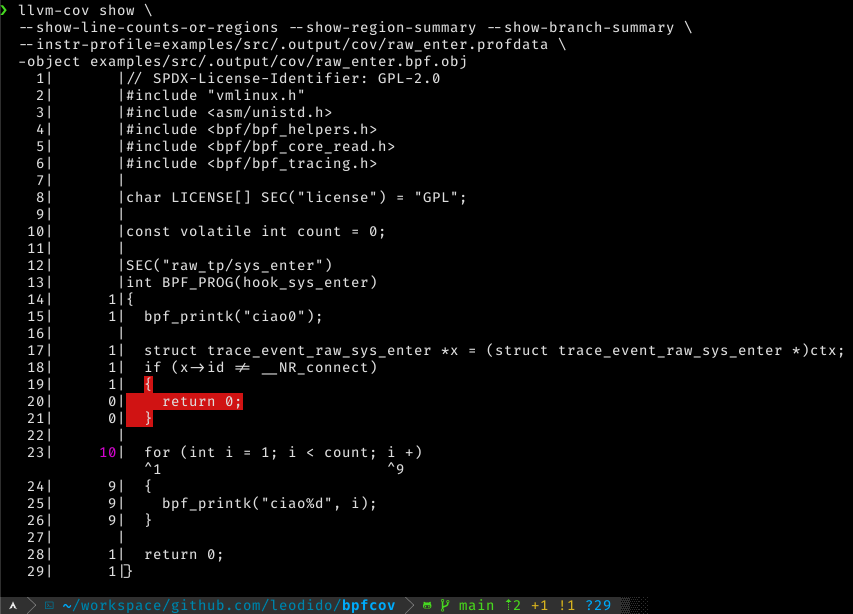
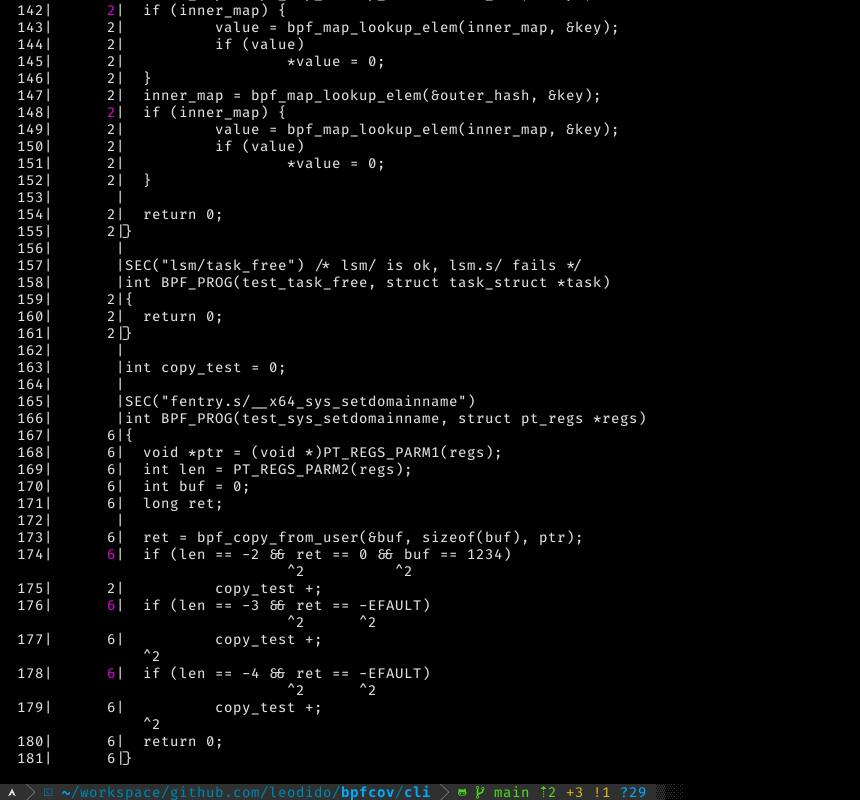
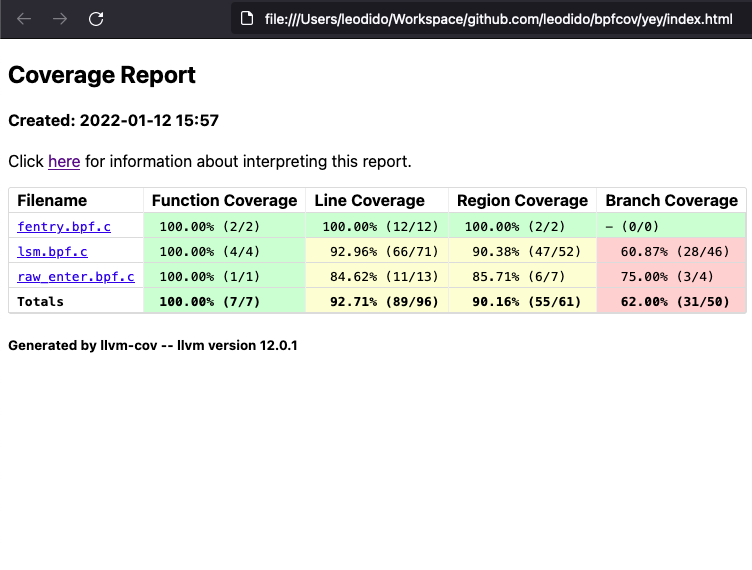
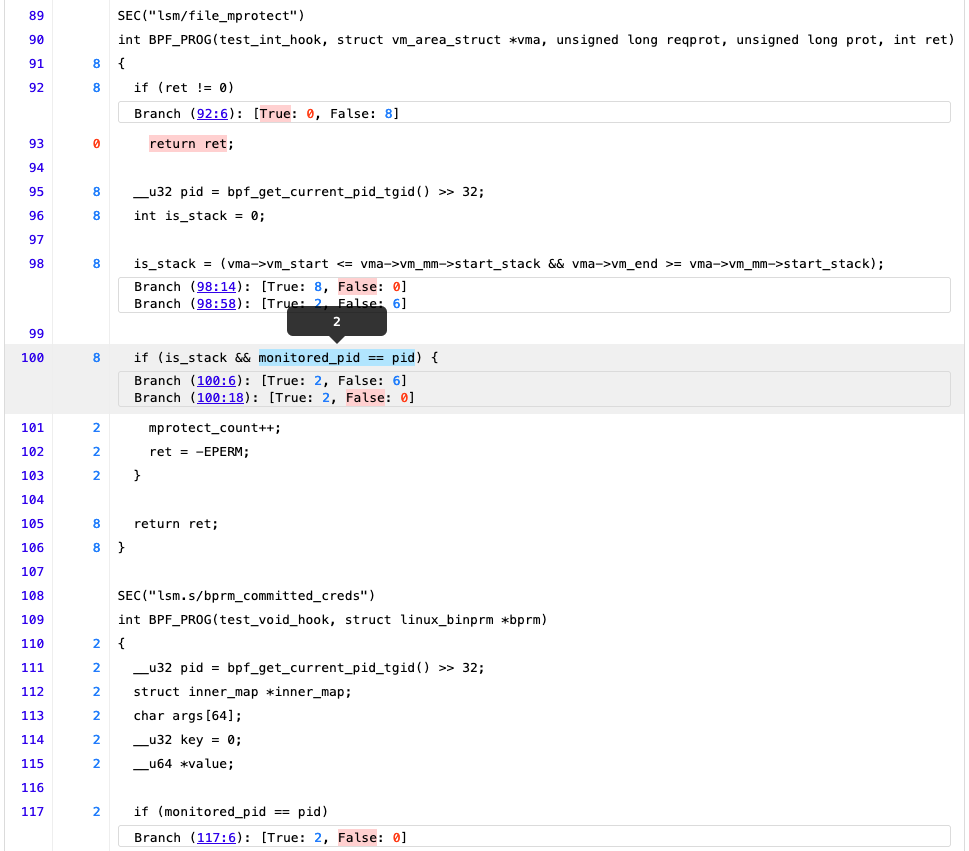
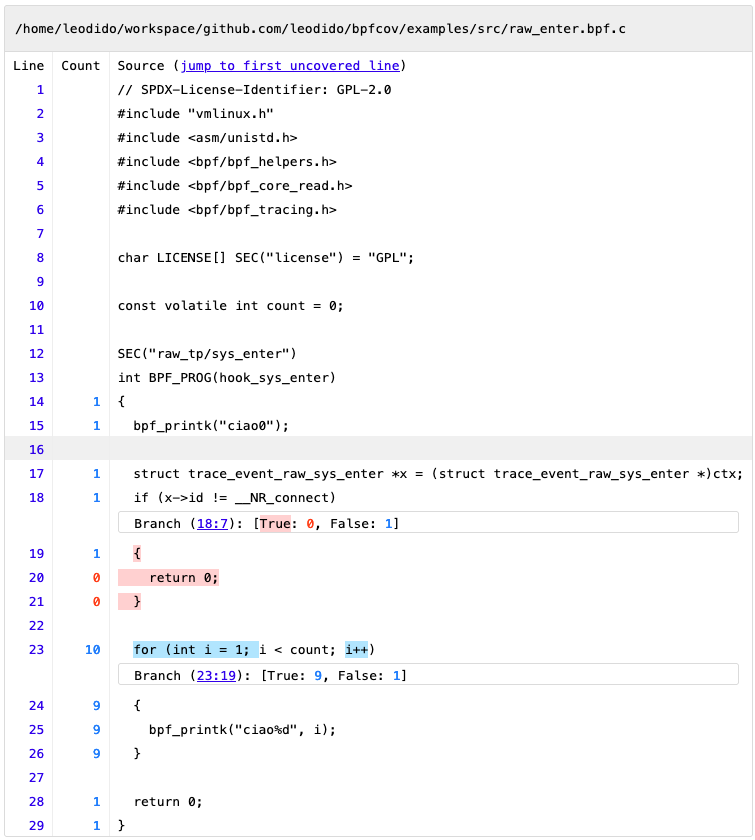
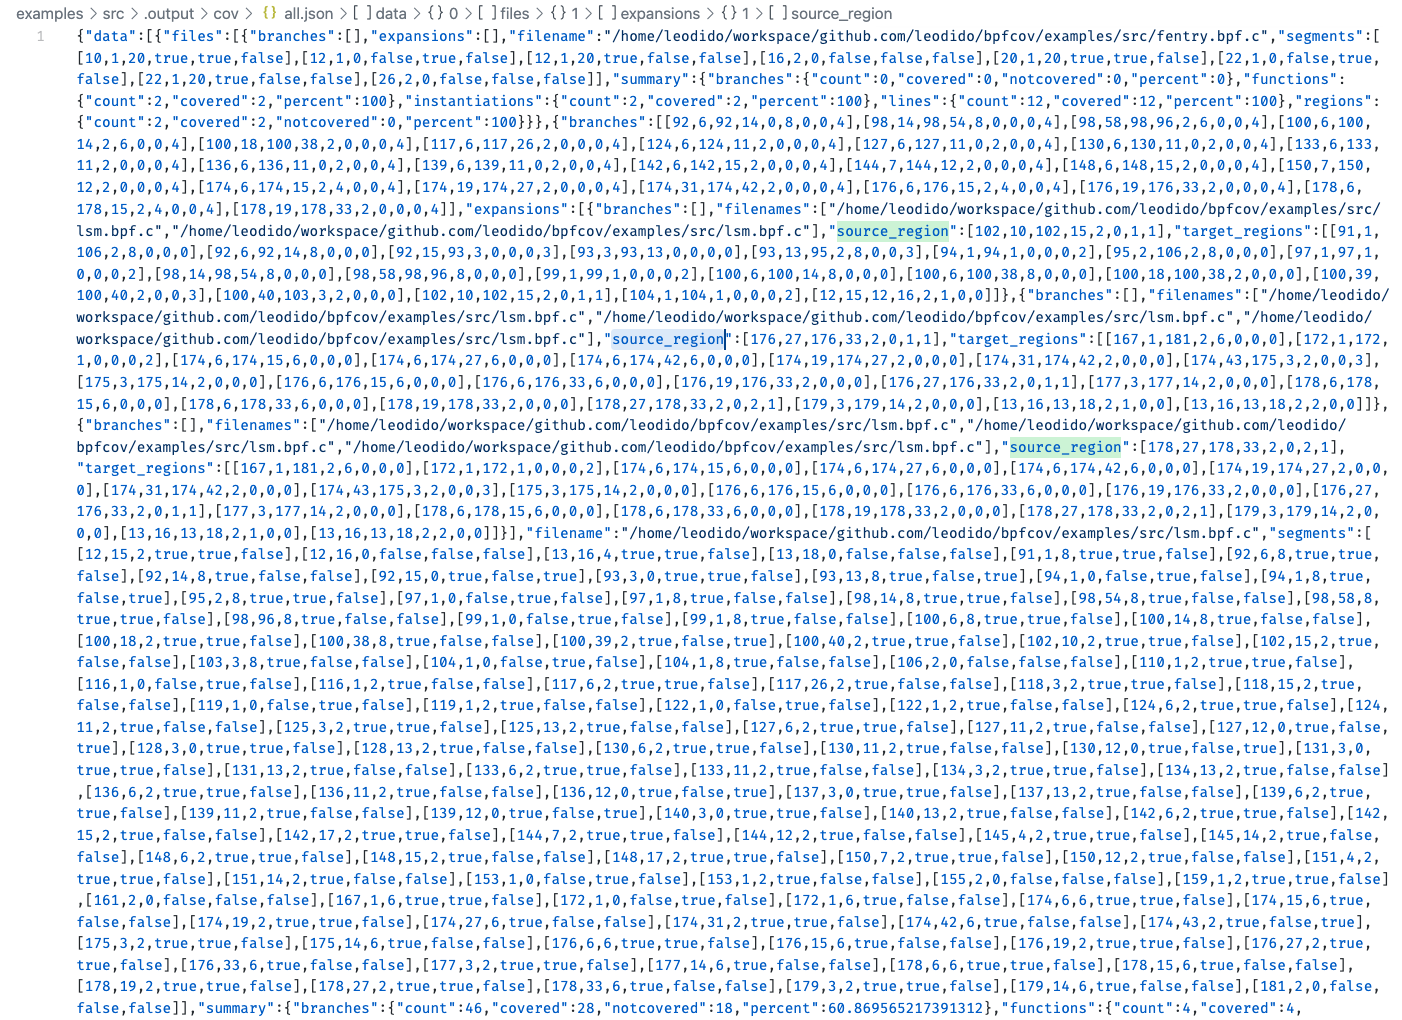
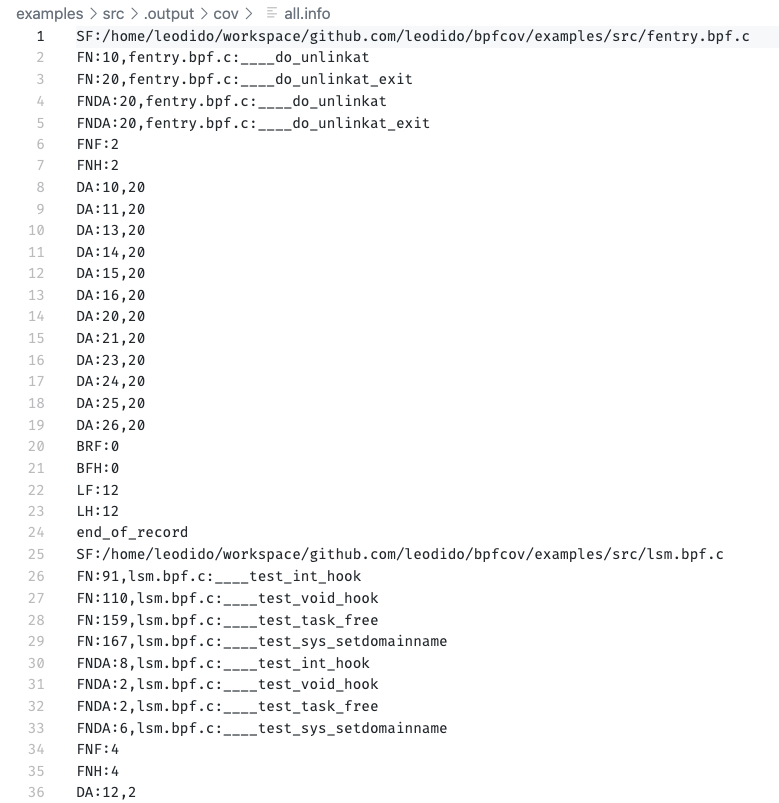
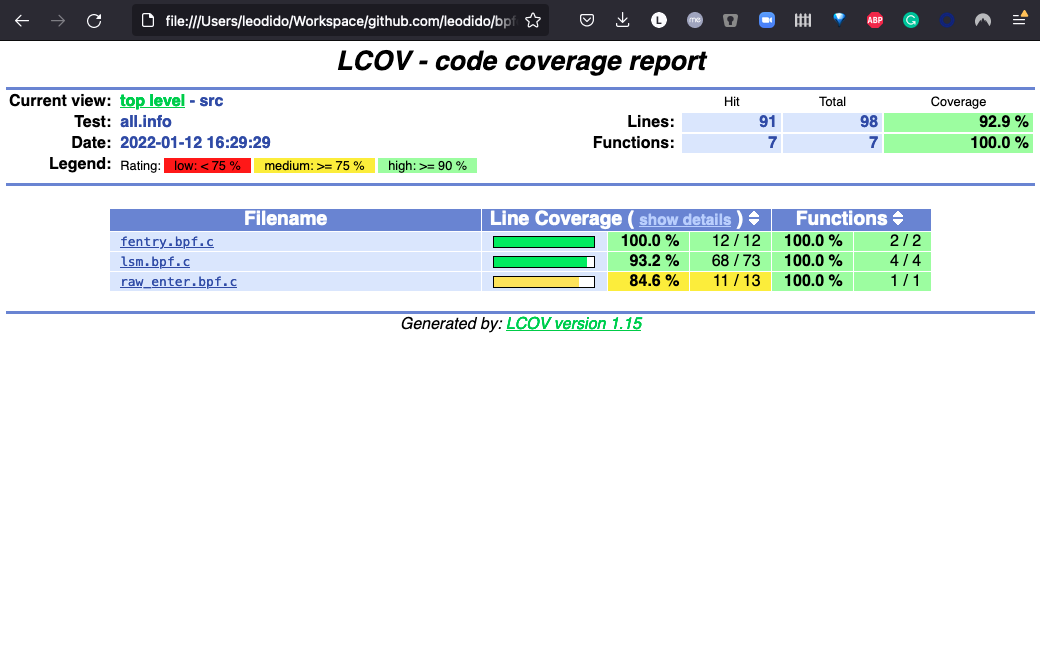
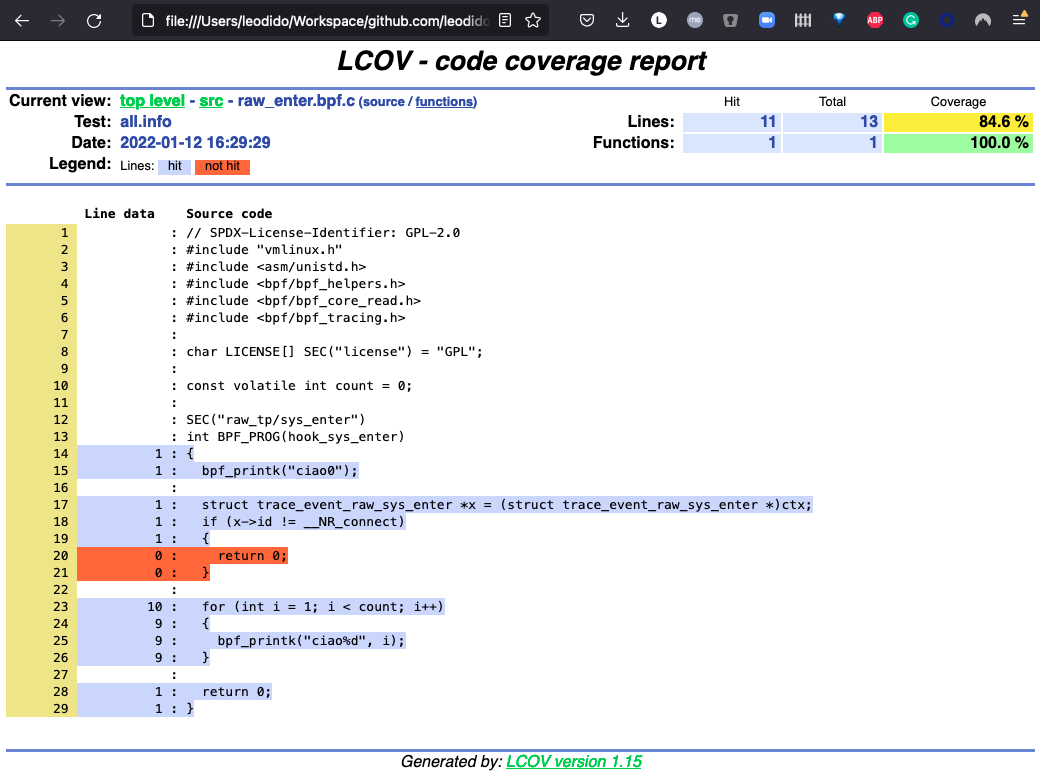
And we can use the LLVM toolchain to generate very fine-grained coverage reports like those in the screenshots!
Refer to the LLVM docs to learn how to do it.
But no worries, it’s just about invoking llvm-profdata and llvm-cov:
lvm-profdata merge -sparse cov/program.profraw -o cov/program.profdata
llvm-cov show \
    --format=html \
    --show-line-counts-or-regions --show-region-summary --show-branch-summary \
    --instr-profile=cov/profdata.profdata \
    -object cov/program.bpf.obj \
    --output-dir=cov/html_report
Anyayws, bpfcov also provides you an opinionated shortcut command to generate HTML, JSON, and LCOV coverage reports:
./bpfcov out --format=html cov/program.profraw
Development Environment§
In order to build the BPFCov library (libBPFCov.so) you will need:
- LLVM 12+
- CMake 3.13.4+
- C++ compiler that supports C++14
In order to use it, you will need:
- clang 12 (to generate the input LLVM files)
- its opt binary to run the LLVM pass
This project has been tested on 5.15 Linux kernels.
Building§
Build as follows:
mkdir -p build && cd build
cmake -DLT_LLVM_INSTALL_DIR=/path/to/llvm/installation ..
make
Notice that the LT_LLVM_INSTALL_DIR variable should be set to the root of either the installation (usually /usr) or the build directory of LLVM.
It is used to locate the corresponding LLVMConfig.cmake script that is used to set the include and the
library paths.
Testing§
To run the tests you will need to install llvm-lit.
Usually, you can install it with pip:
pip install lit
Running the tests is as simple as:
lit build/test
Thank you for getting this far...
This website doesn't allow commenting. The comments policy explains why.